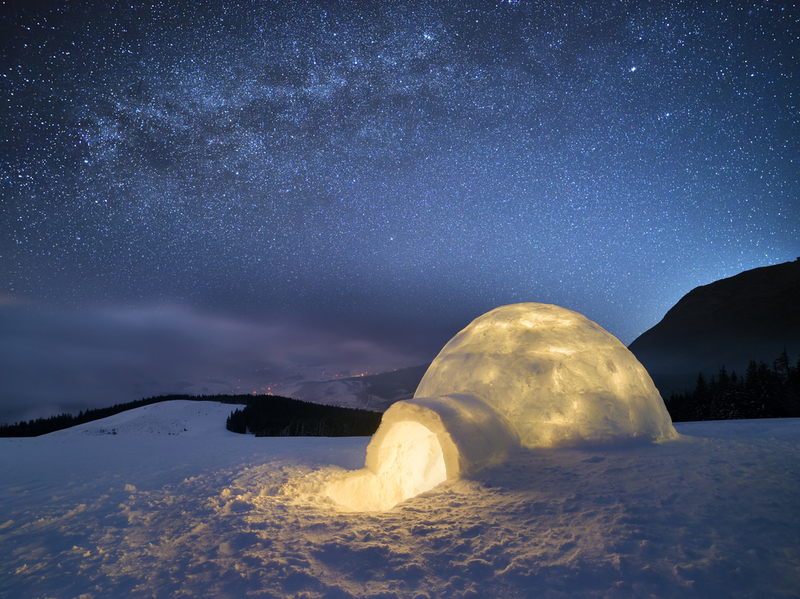
Step #1
Know your snow. Not all types of snow are good for igloo making. Dig under the top powder to reach the denser snow below it. The spot where your feet stop sinking is where you find the most stable snow to use.
Step #2
Igloos are circular, so you will need to mark your center. Stick a branch in the ground and tie a line, cable, or a thick piece of string as long as your desired radius. (First-timers shouldn’t venture anything bigger than a 10 feet diameter.) Use the line to trace your circle around the stick.
Step #3
Actual authentic igloos are built with snow bricks that are about 15″ high, 8″ thick, and 3 ft. long, but you can use smaller ones. Carve snow from the center of the circle and work your way out. Press the snow into a mold to make your bricks as dense as possible.
Step #4
Lay your bricks in a slight upward spiral rather than stacking them in tiers and work your way up. You can use branches or other blocks to stabilize the structure as you go until it holds itself upright. As you work your way up, start using smaller and smaller bricks for the topmost parts of your igloo. To get a nice, tight fit between the bricks, pack some snow into any spaces between them.
Step #5
Don’t close the top of the igloo. Leave a hole at the top (or cut one into the side) for ventilation. You don’t want to limit the oxygen supply in your new icy lodge. You will also need to cut a doorway hole. Use the block of ice you cut out as the actual door!
Step #6
Hose the outer layer of your igloo. This will form a thin layer of ice over the top of your igloo. Since it’s stronger than snow, it will help the igloo last longer.